FINE DINING
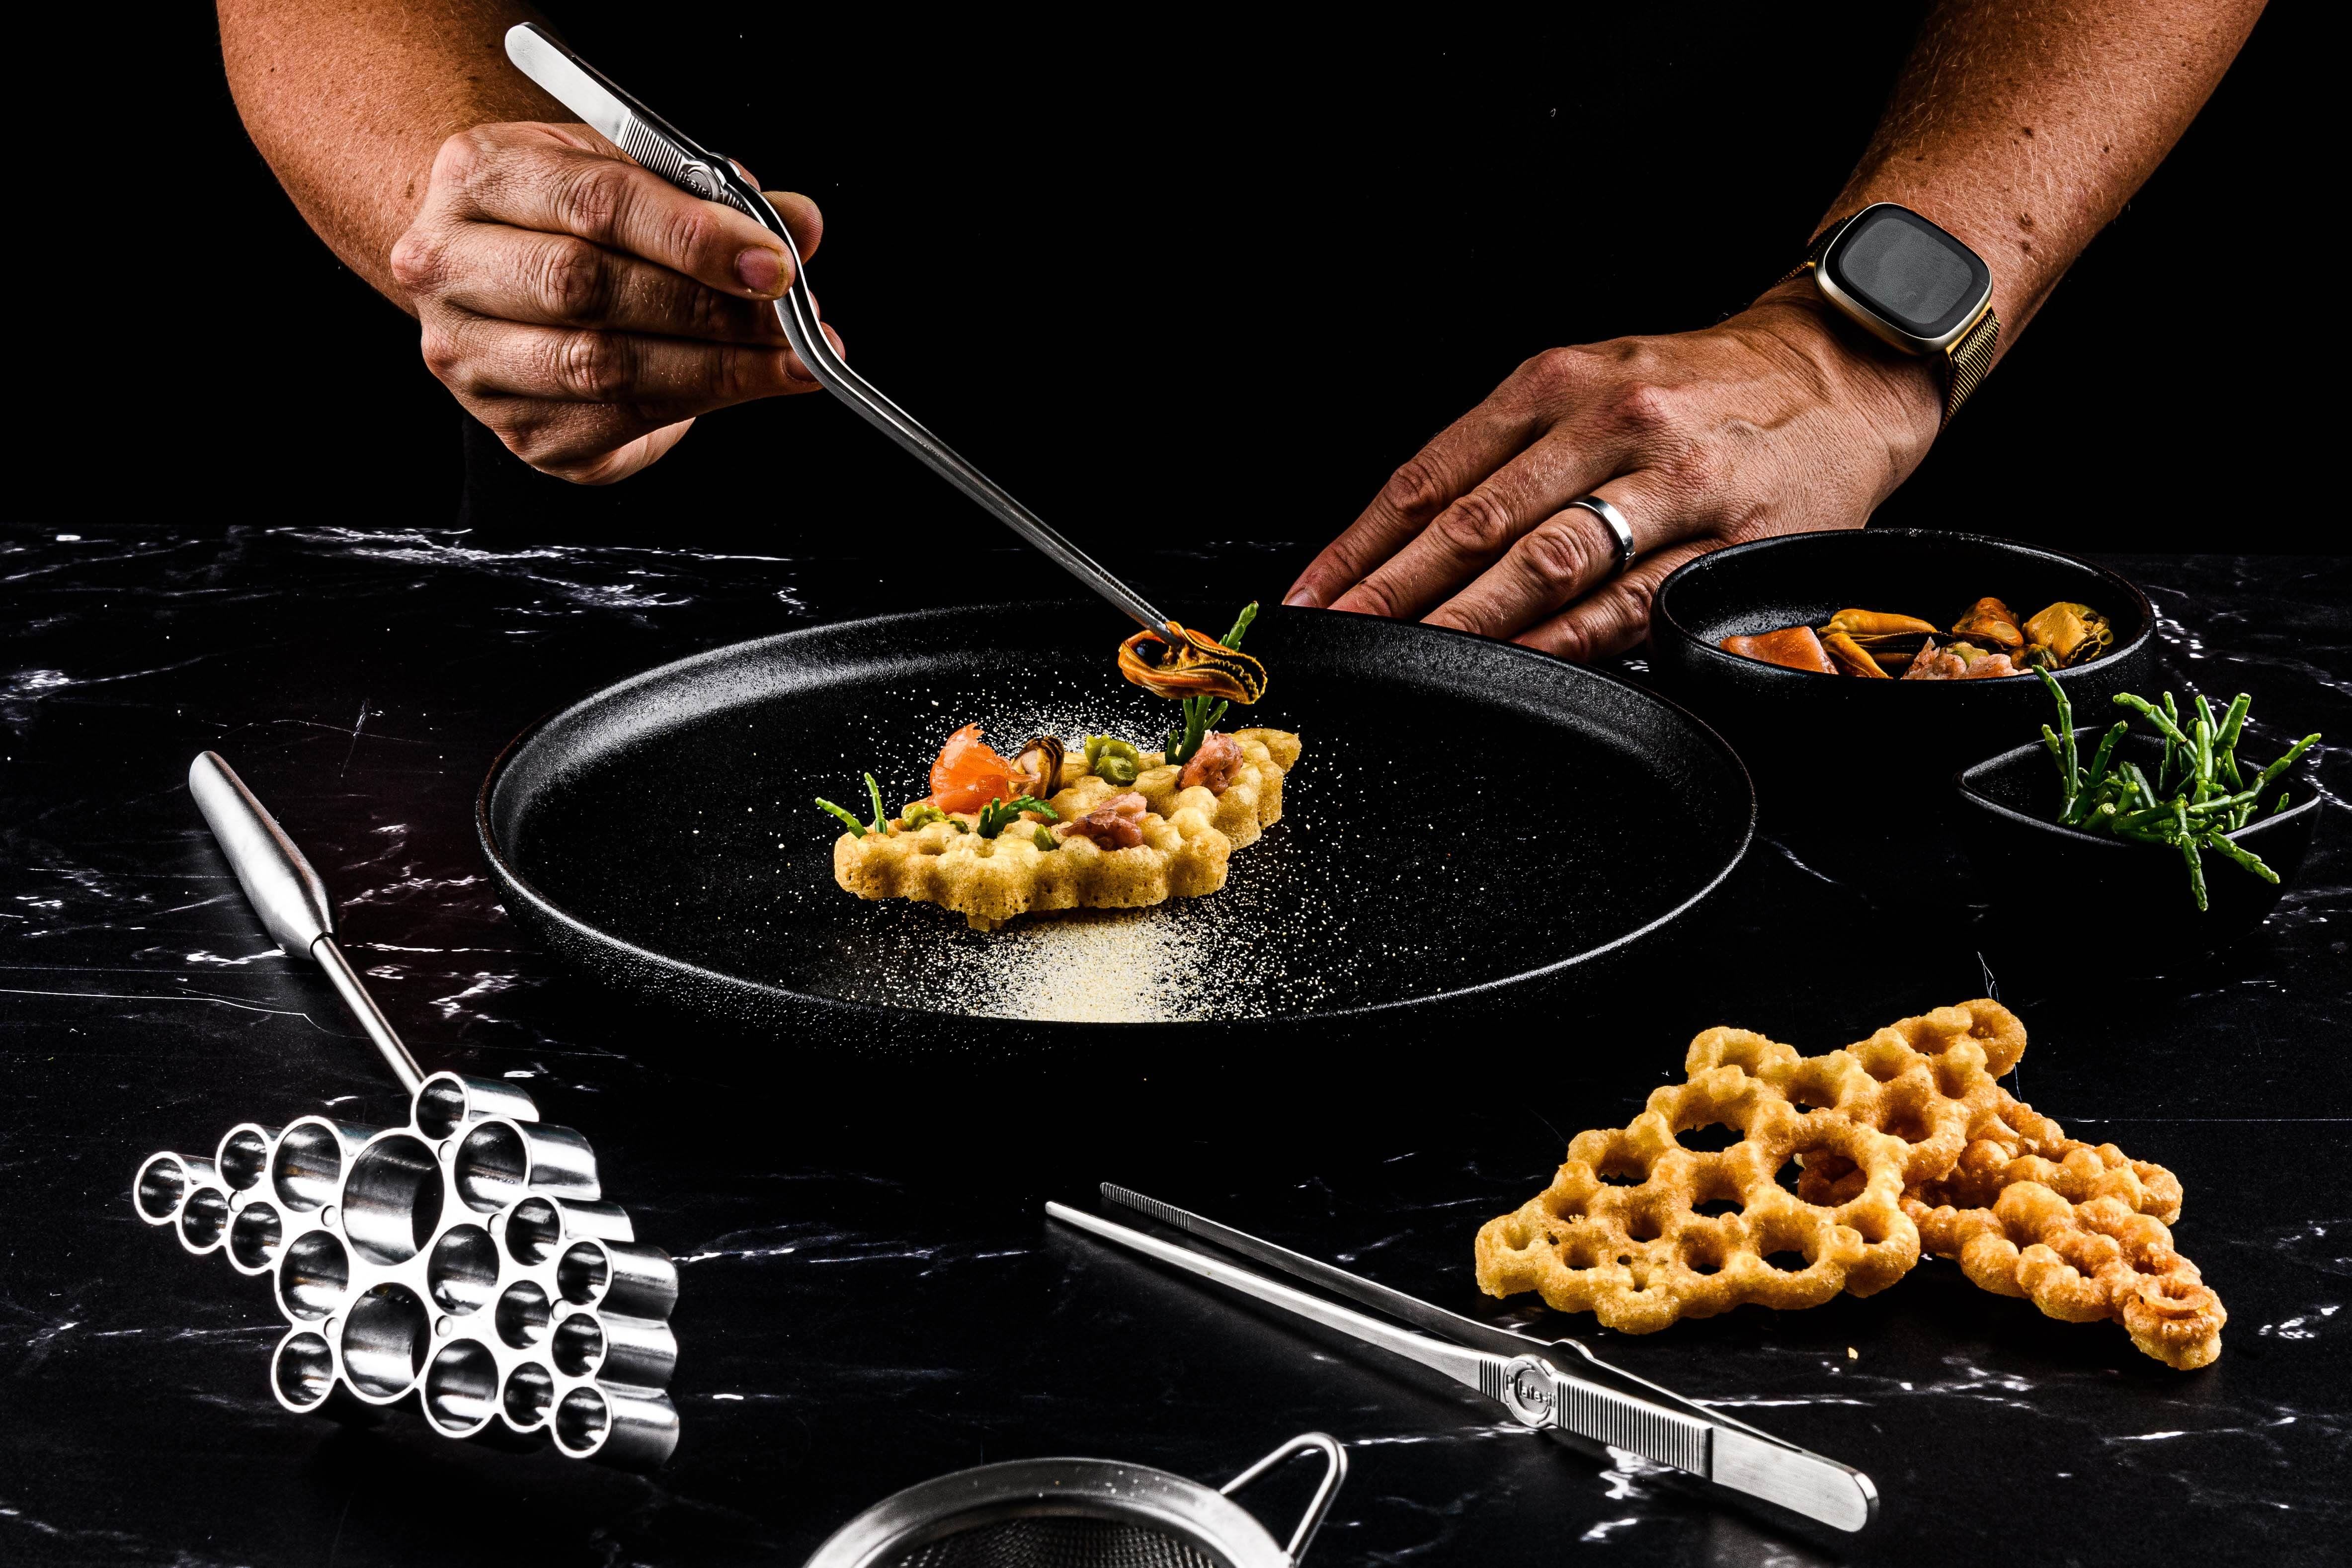
Are you a true perfectionist and want to add the finishing touches to the presentation of your food? These tools are perfect to use if you want to turn your dish into a real work of art. Make beautiful plates like a professional chef does: Plate it - like a pro!
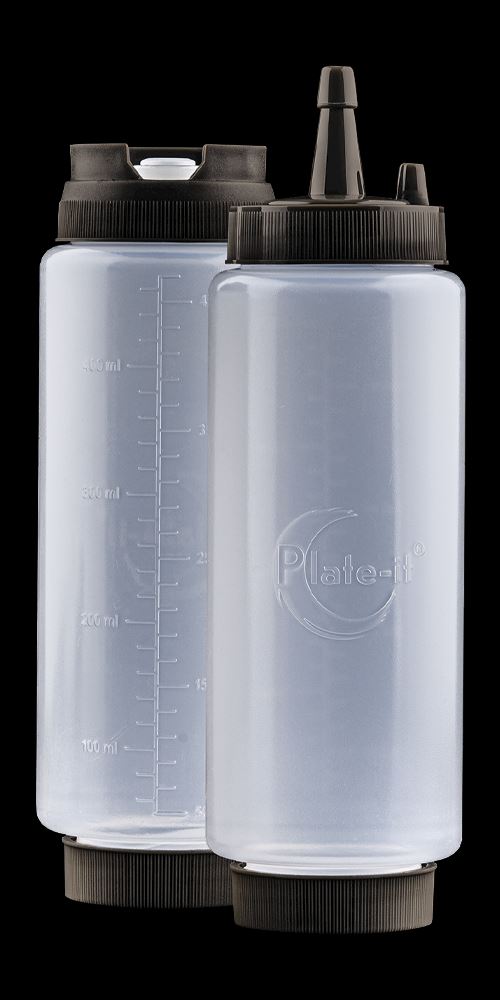


The two garnish bottles in Plate-it's set are not only ideal for using the right dosage of batter, sauces, oils or dressings, but are also the perfect tool for decorating your plates. Tufts, circles, lines - anything is possible. The bottles each have their own mouth, making one perfect for coarse, and the other for subtle work.
1. Fill the garnish bottle with a sauce, oil or dressing
2. Garnish the plate with a shape of your choice
TIP: Use Plate-it's brushes, tweezers, or pusher to continue working the lines and shapes.
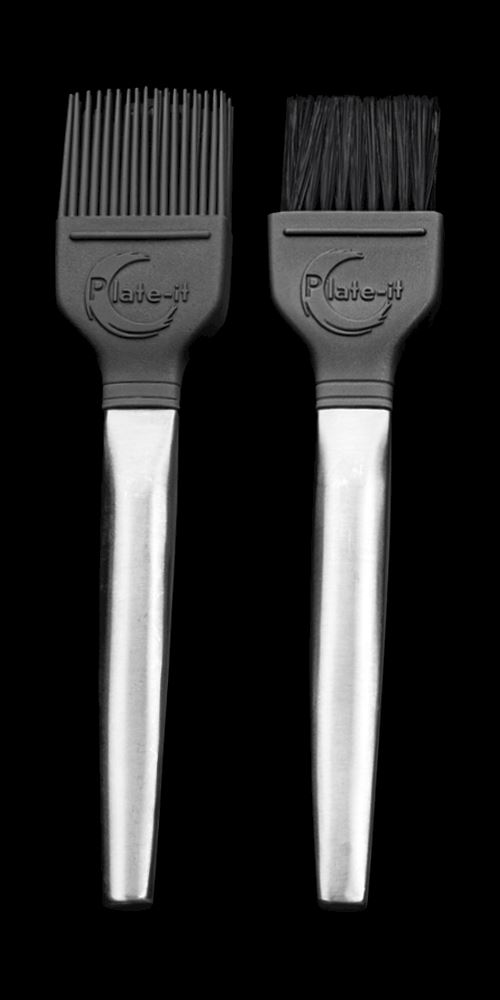


Whether you want to varnish a dish, grease a baking pan or spread a drop of puree or sauce to decorate a plate: you can do it all with the Plate-it brushes.
- with rubber bristles: ideal for the coarser work, such as for lacquering and greasing dishes.
- with nylon bristles: for everything that requires a finer finish, such as plating a plate.
1. Pour a drop of puree or sauce onto the plate and wipe it out with the nylon brush in the desired shape, possibly in conjunction with using the Plate-it turntable.
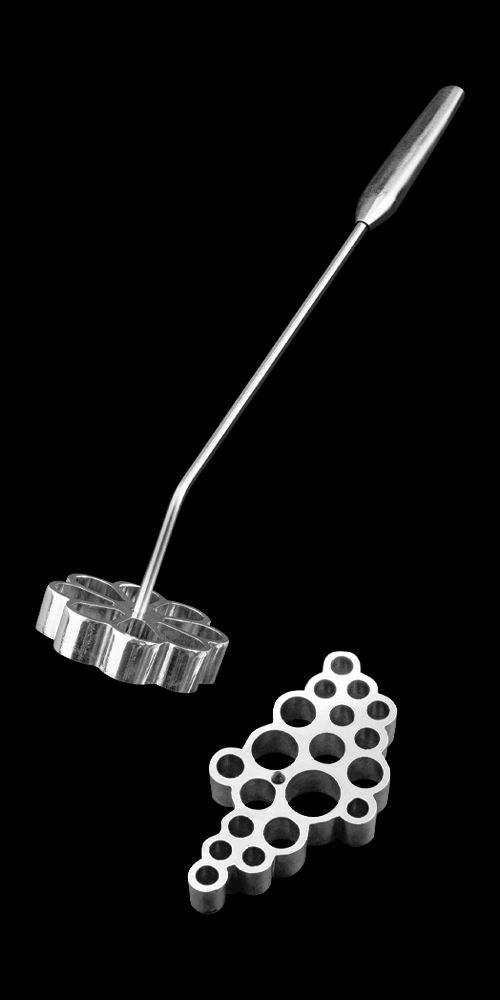


With Plate-it's Buñuelos Rosettes, you'll make delicious crispies in an elegant form. A stunning part of a dessert, or, with a less sweet batter, as the base for an impressive main course.
1. Dip the Buñuelos Rosettes in the oil for 60 sec (180-190C°). This prevents the batter from sticking afterwards.
2. Then press the Buñuelos Rosettes into the batter. Take care! Do not let the batter run over the top of the mold, or the crunch will not come off.
3. When the batter sticks well to the Buñuelos Rosettes, you can take them out.
4. Next, hold the Buñuelos Rosettes in the oil and fry them for a few seconds.
5. After being fried in the oil for a while, the crunch will come off the Buñuelos by itself. Rosettes.
6. Turn the bunuelos over in the oil, so that the other side other side can become golden brown. Use the Plate-It Tweezers to pick the crisp out of the oil.
Directions: When using for the first time, let the mold warm in the oil for about 5 minutes. Wash the Buñuelos Rosette only with warm water and then wipe it dry with a cloth. This is to prevent the grease layer on the mold from disappearing. "
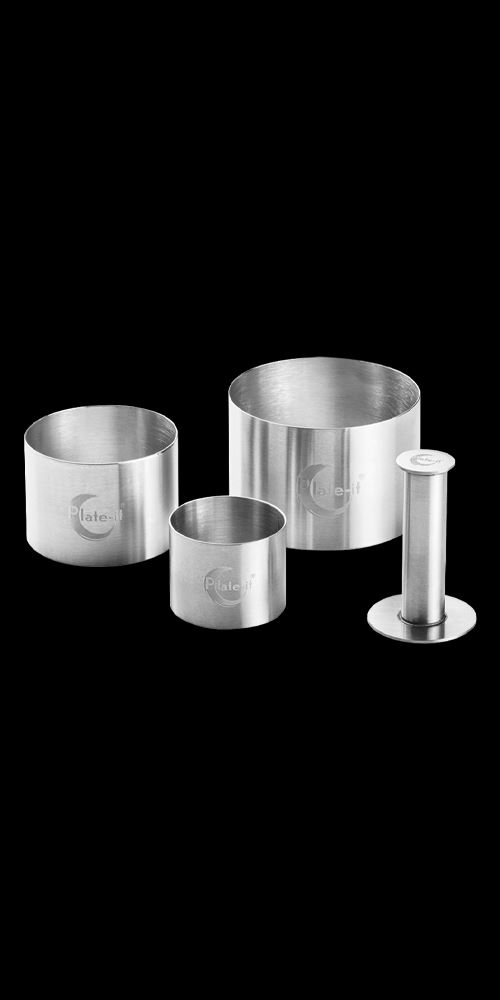


Plate-it's round garnishing rings are perfect for sticking out cake or making ingredients circular on your plate. By using the pusher, the filling is also easily pushed back out of the mold.
1. Fill a garnishings ring with, for example, steak tartare, risotto or a thicker puree, and press with the pusher.
2. Carefully lift the ring.
TIP: Pour a small drop of sauce on the plate and stamp in it with the pusher, so that it creates a nice outline for an extra beautifully decorated plate.
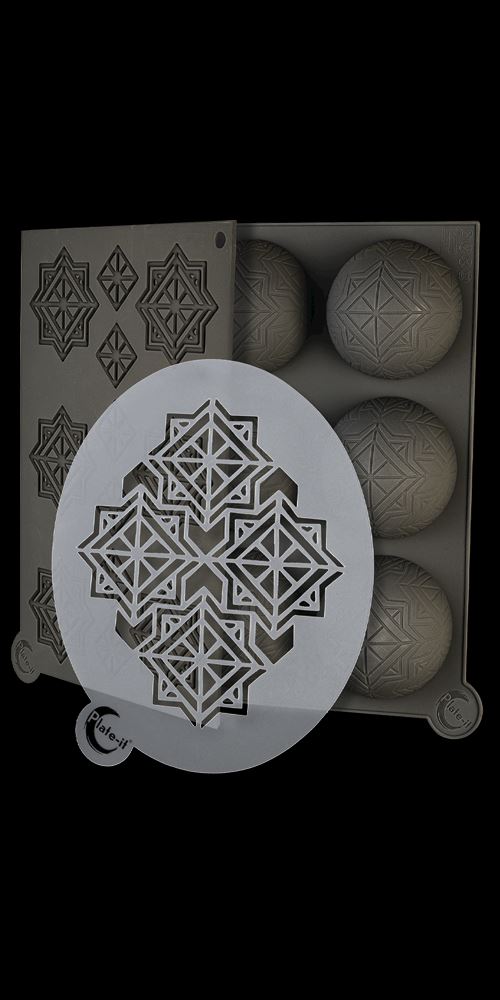


With the silicone mold and PP stencils by Plate-it you can make all kinds of shapes that really take your prepared dishes to the next level. 3D or flat on the plate, with a crunch, mousse or powder - you can do anything. Directions for use: all molds require a spatula, such as a Plate-it offset spatula.
Stencils | Baked/frozen decorations
Preheat the oven and fill the small stencil with batter using a sheet of baking paper. Removeexcess batter with a Plate-it offset spatula. Bake in the oven until the batter is done and let it cool. Gently press your creation out of the stencil.Also use the stencils for cold decorations by filling them with a mousse/chocolate/ice/other cream. Let it set in the freezer and remove the stencil while still frozen. This way your creation will keep its shape.
Stencils | Powdered decorations
Place the stencil on the plate. Using the Plate-it decoration sieve, sprinkle a dry ingredient (e.g., powder or spices) over the stencil.Carefully lift the stencil using the tab. The shape is set on the plate.
TIP: Advanced chefs can also use this stencil to make the shapes on the plate with purees. Spread the puree in the stencil with a Plate-it offset spatula and carefully lift the stencil using the tab.
Silicone Mold
Use the silicone mold to make 3D-creations. Fill the mold with a sweet or savory mousse/chocolate/ice/other cream and let it set in the freezer. Remove the mold while still frozen – this way your creation will keep its shape – and gently place on your plate. Also use the mold for sweet or savory cakes, as it is suitable for the oven (up to 230 °C).
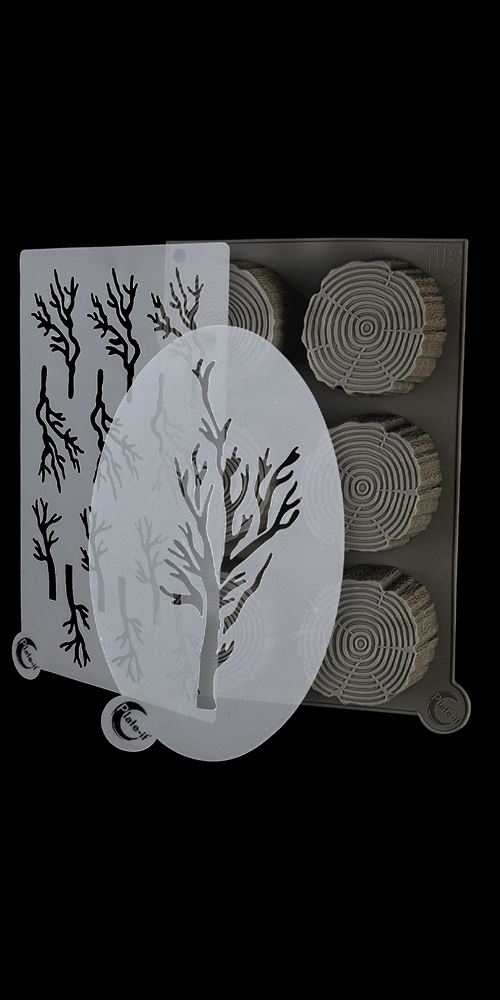


With the silicone mold and PP stencils by Plate-it you can make all kinds of shapes that really take your prepared dishes to the next level. 3D or flat on the plate, with a crunch, mousse or powder - you can do anything. Directions for use: all molds require a spatula, such as a Plate-it offset spatula.
Stencils | Baked/frozen decorations
Preheat the oven and fill the small stencil with batter using a sheet of baking paper. Remove excess batter with a Plate-it offset spatula. Bake in the oven until the batter is done and let it cool. Gently press your creation out of the stencil.Also use the stencils for cold decorations by filling them with a mousse/chocolate/ice/other cream. Let it set in the freezer and remove the stencil while still frozen. This way your creation will keep its shape.
Stencils | Powdered decorations
Place the stencil on the plate. Using the Plate-it decoration sieve, sprinkle a dry ingredient (e.g., powder or spices) over the stencil.Carefully lift the stencil using the tab. The shape is set on the plate.
TIP: Advanced chefs can also use this stencil to make the shapes on the plate with purees. Spread the puree in the stencil with a Plate-it offset spatula and carefully lift the stencil using the tab.
Silicone Mold
Use the silicone mold to make 3D-creations. Fill the mold with a sweet or savory mousse/chocolate/ice/other cream and let it set in the freezer. Remove the mold while still frozen – this way your creation will keep its shape – and gently place on your plate. Also use the mold for sweet or savory cakes, as it is suitable for the oven (up to 230 °C).
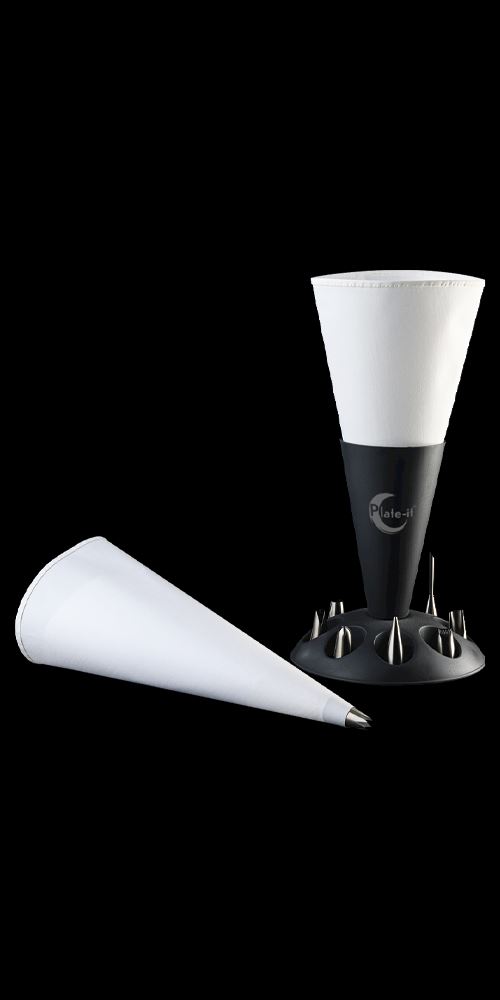


Garnish your cupcakes, cakes, but also something like purees with this professional piping bag set from Plate-it. Each nozzle has its own function. The set contains a piping bag holder, 2 reusable piping bags and 8 nozzles.
- Small nozzles with smooth end: fine decorations
- Large smooth end nozzles: Pipe tufts and meringues, fillings into baked goods
- Long thin nozzles with needle-shaped tip: filling of puffs
- Star-shaped, open nozzles: piping tufts
- Star-shaped closed nozzles: tufts, just a bit more elegant
- Fluted nozzle: to draw fluted, wide lines
- Nozzle with sort of drop-shaped opening: bows, petals, drapes
- Nozzle with moon-shaped opening: for making Christmas trees, hearts, string, shells, etc.
1. Choose the desired nozzle and push it into the piping bag. Fill the piping bag with a puree or cream of your choice.
2. Close the end of the bag and from above, gently squeeze the mass out through the nozzle.
TIP: for decorating cupcakes and cakes, the Plate-it turntable is also a handy tool!
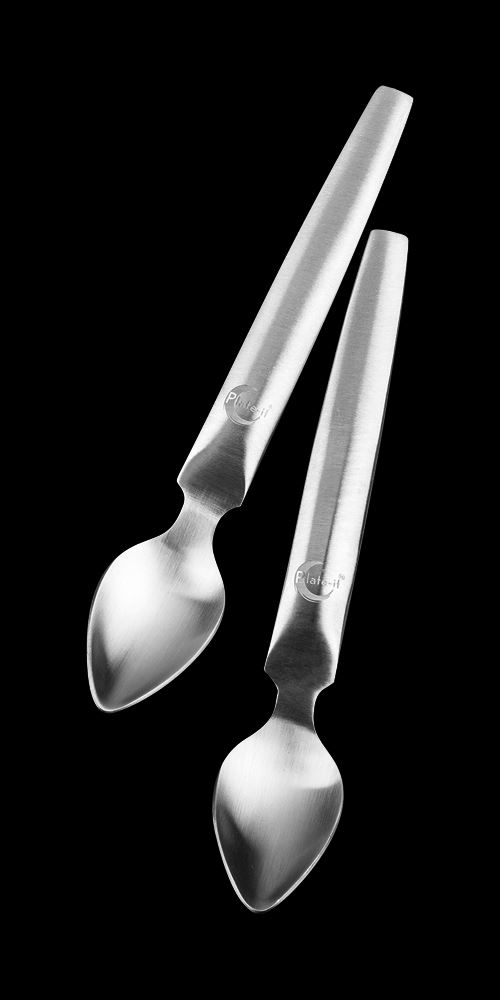


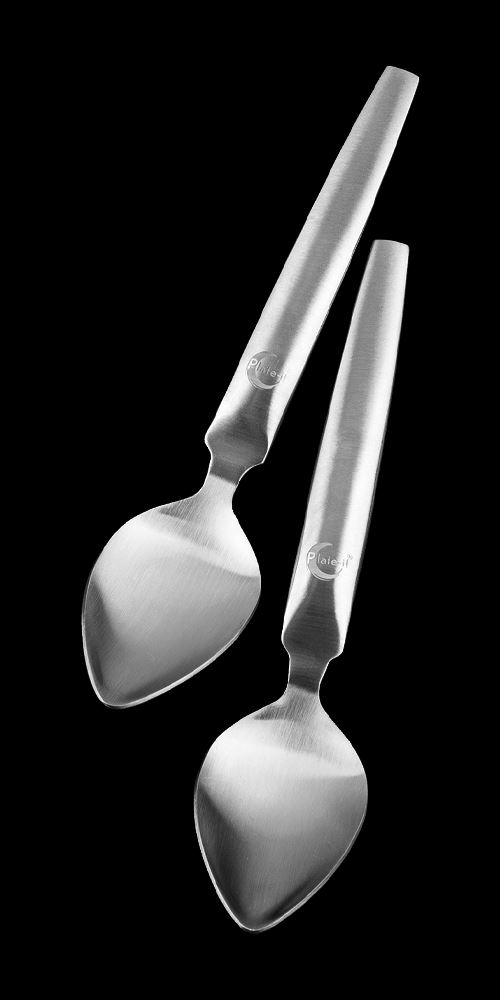
With Plate-it's quenelle spoons, you can turn any pudding, mousse, puree or ice cream into quenelles, or in other words, the convex, oval shapes you often see especially in French cuisine.
1. Take 2 quenelle spoons and dip them into a glass of warm water.
2. Using one of the spoons, scoop a portion of mousse.
3. Then, with the other spoon, scoop the portion over, using the wide side of the spoon to scoop into the cavity at the top of the other spoon. If necessary, repeat this step several times to create a smooth shape.
4. Carefully place the quenelles on the plate.
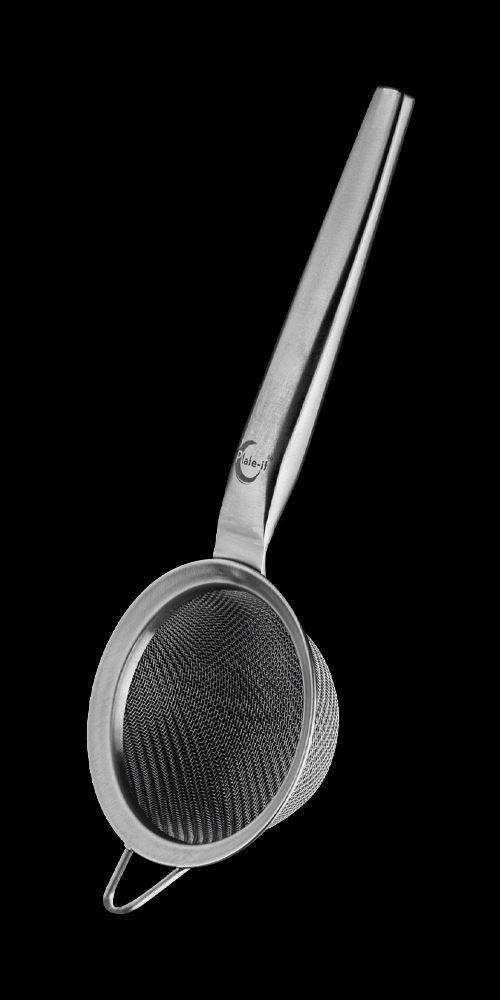


Thanks to the fine mesh of the decoration sieve, it is suitable for use in the kitchen in many ways. Whether you want to decorate your plates in a special way or want to decorate freshly baked cakes: with the decoration sieve from Plate-it you will finish your dishes beautifully.
1. Fill the decoration sieve with powdered ingredients such as powdered sugar, cocoa, dried fruit or spices.
2. Tap the side of your finger gently against the edge of the sieve and move your hand back and forth.
TIP: Use Plate-it's silicone molds to form figures on your plate or dish.
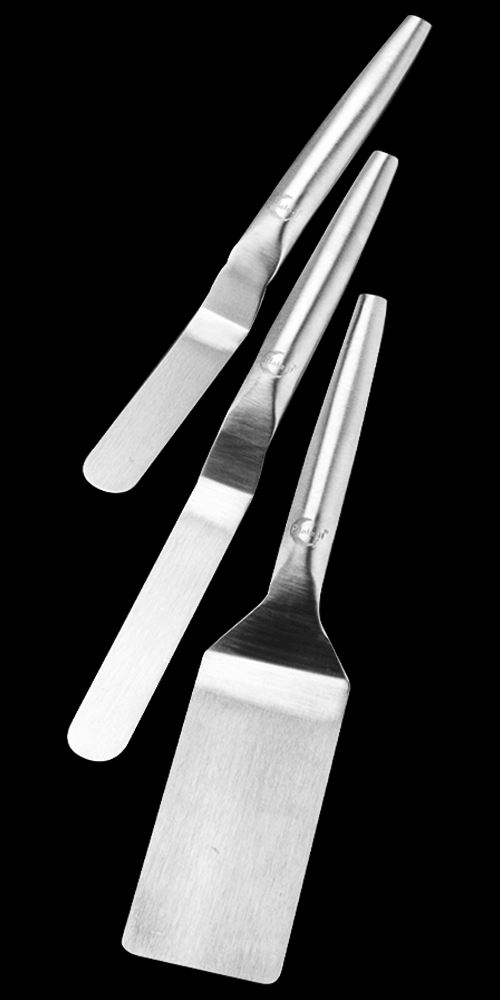


Plate-it's offset spatulas are a great help in the kitchen. With the palette knives (in two sizes) you can apply fillings, glaze cakes or spread sauces decoratively in a professional manner. The spatulas are also great for dressing (small) ingredients on your plate. The wide spatula is handy for somewhat larger ingredients and the palette knive is just right for smaller work.
1. Pour a drop of sauce onto the plate and turn it, using the turntable if necessary, so that you wipe out the drop with the spatula.
2. Slide the elongated spatula under the ingredients you want to place on the plate, and place it on the plate with care.
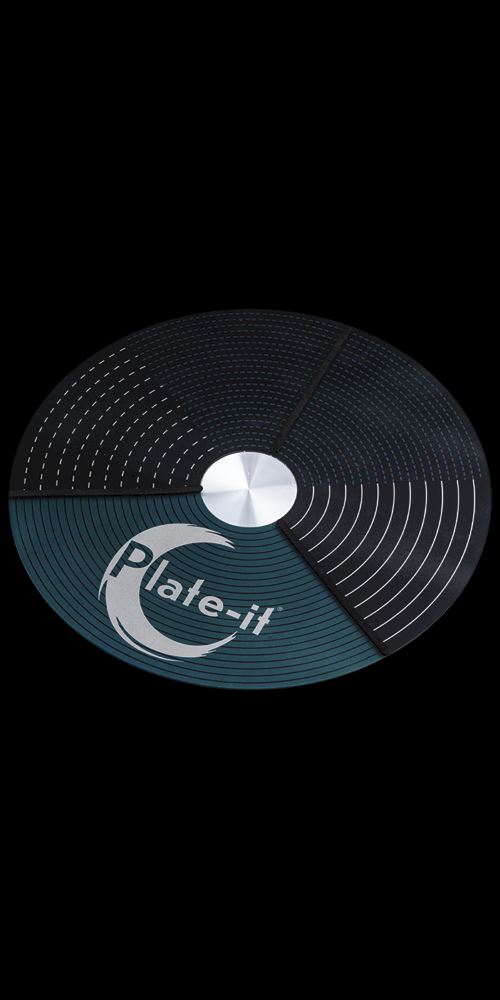


With Plate-it's turntable, you'll be making plates in no time. No more time-consuming maneuvers to get the best result! The turntable is also very suitable for decorating cakes.
1. Place a plate in the center of the turntable. The center is easily found by the lines on the turntable.
2. Turn the turntable by giving it a little push.
3. Use a squirt bottle to squeeze out sauce masterfully, from the outside in, above the plate. This will create a nice circular figure.
4. For another result, rotate the plateau again and gently press a spatula or brush over the figure.
Foam strips included separately, please apply before use.
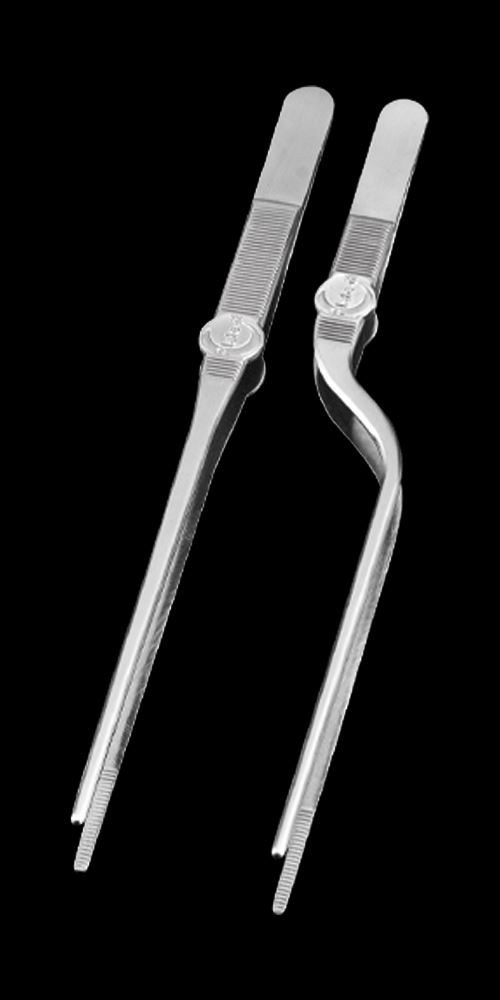


Tweezers are the ideal accessory for dressing dishes with smaller elements. From herbs to cress and from pomegranate seeds to edible flowers - Plate-it's kitchen tweezers will turn any dish into a masterpiece.
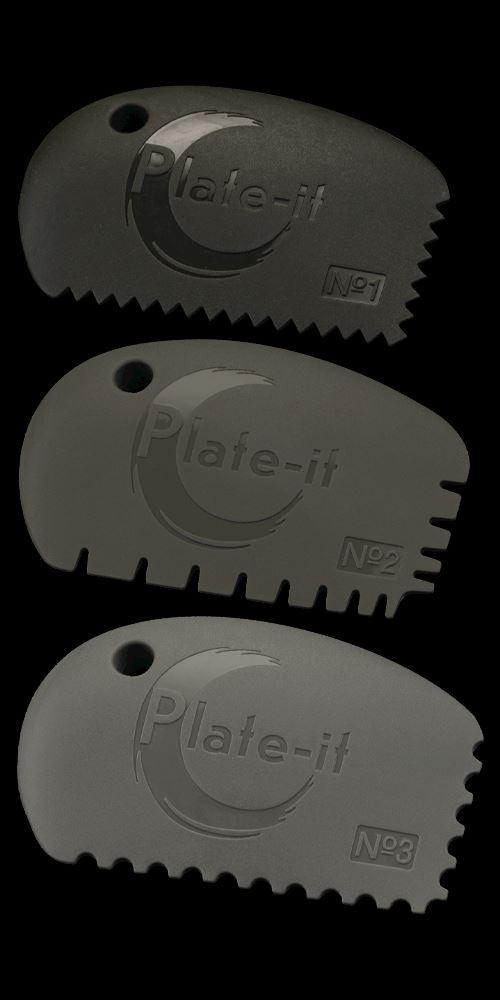


With the scrapers from Plate-it, you not only create an impressive made-up plate in no time, but also glaze and decorate cakes easily.
1. Place a toot of puree or sauce on the plate and spread this out with the scraper in your desired pattern.
TIP: use the Plate-it kitchen tweezers to carefully place the rest of the dish on the plate.

